01
Why a section explains more than any exterior view
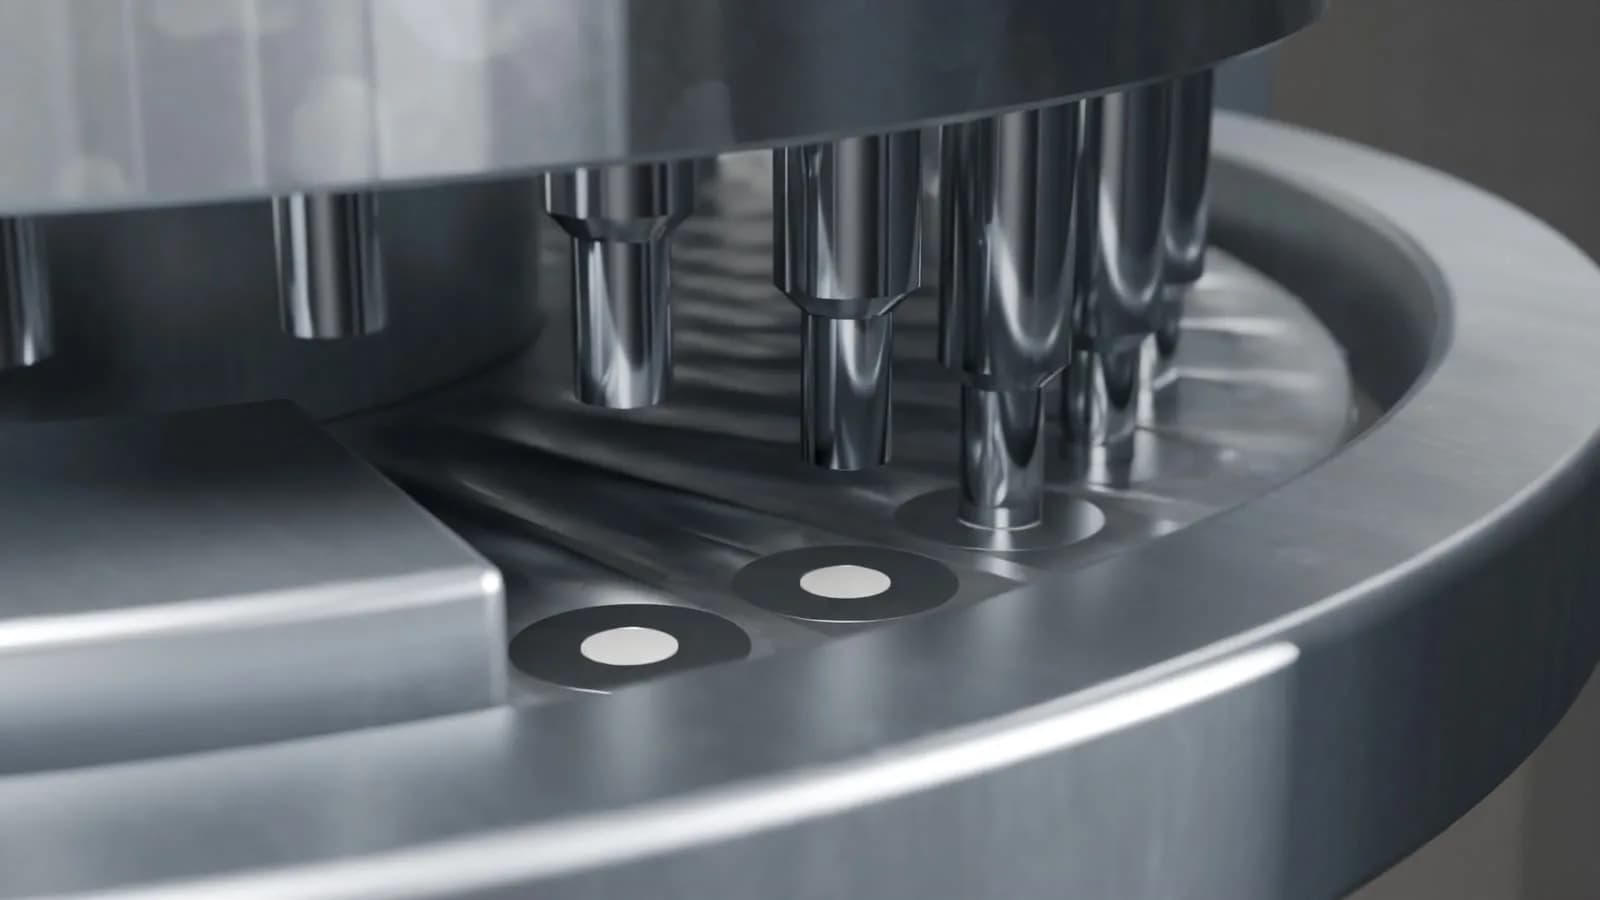
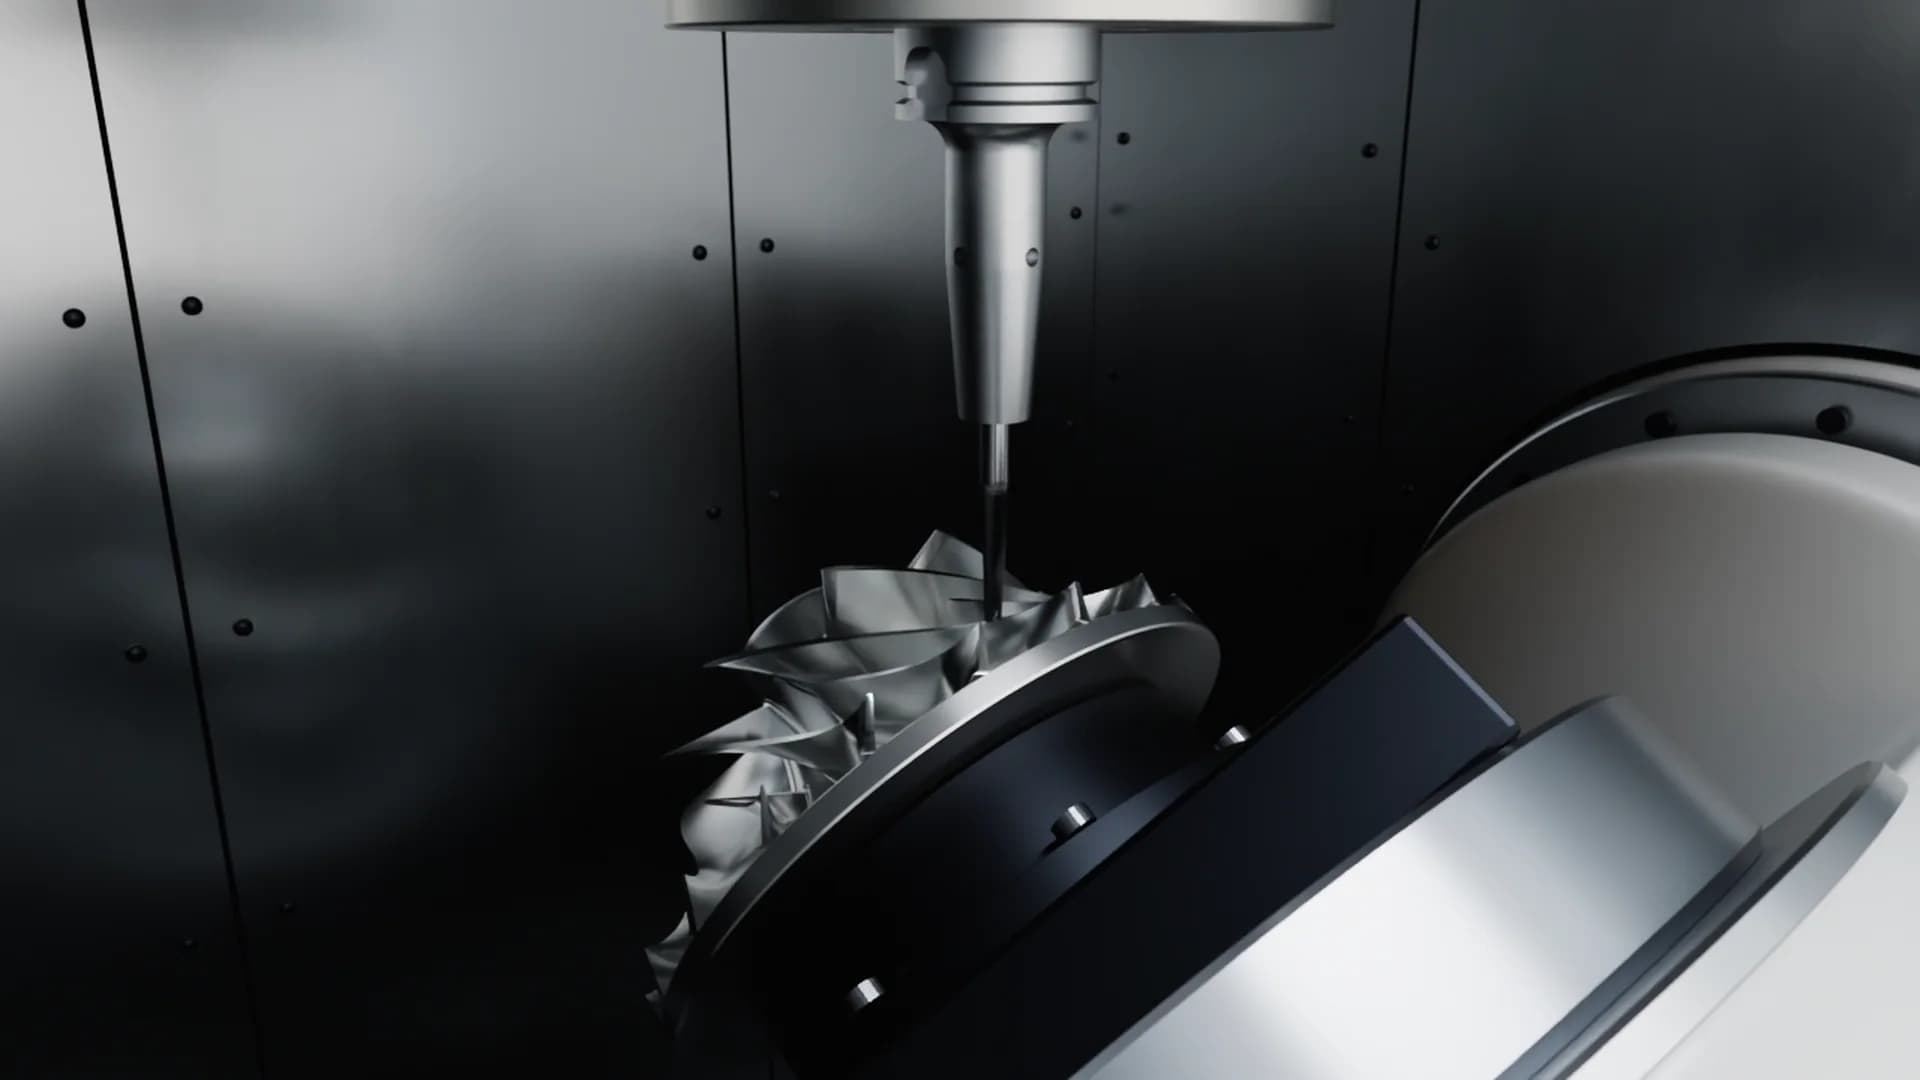
Most machines hide their best part. From outside a valve looks like any other, a tablet press like a cabinet with a glass door. What makes them better happens inside: how a seal seals, how a punch presses, where force builds up.
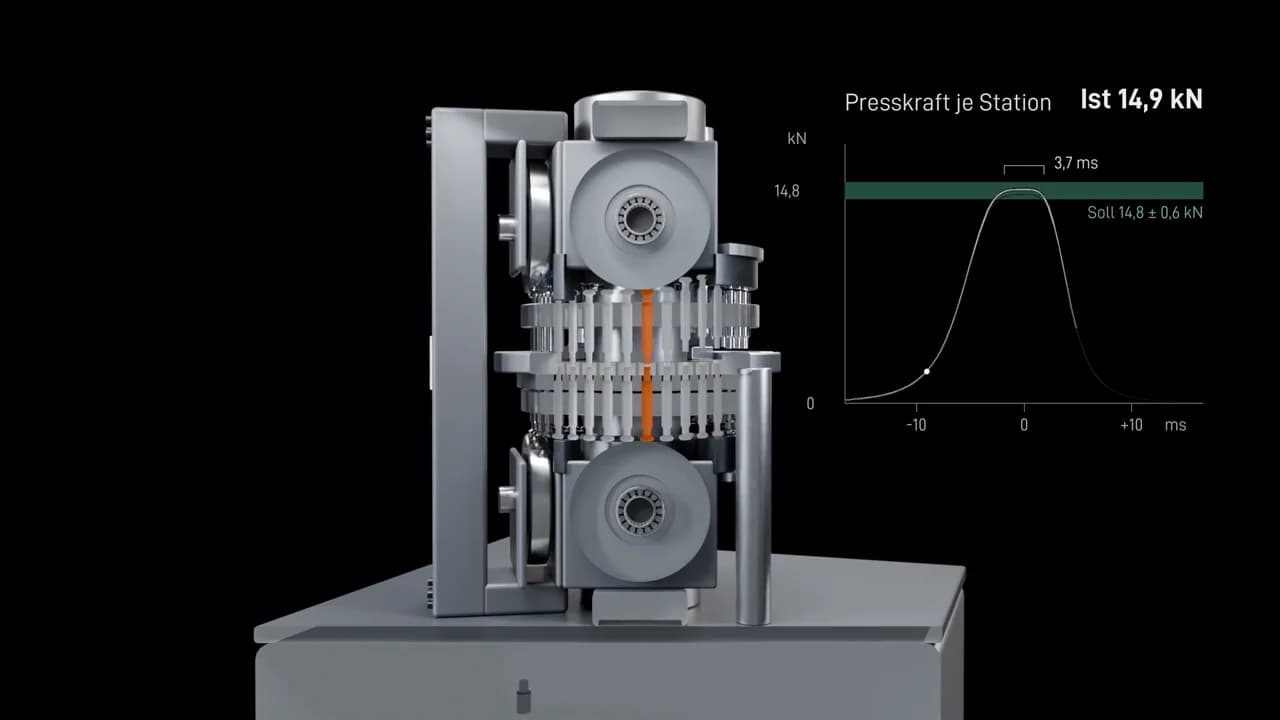
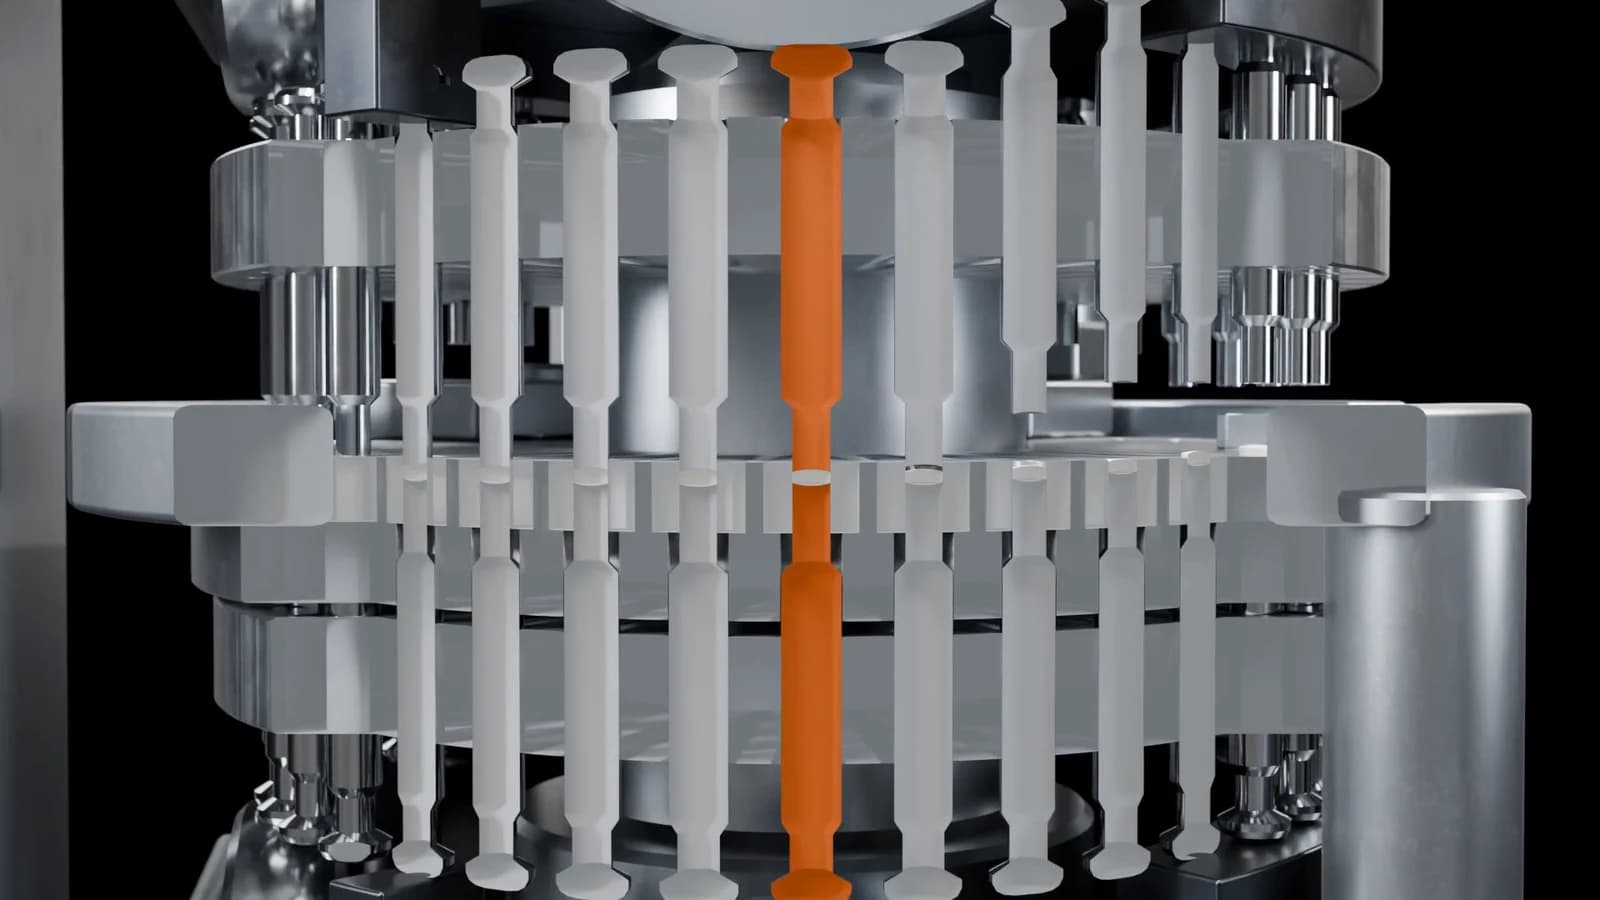
In HARTENAU, the turret of a tablet press runs and the camera looks in through a cut. A single station is orange, everything else stays calm grey. Without a word of explanation, you understand that this one station is what matters.
02
The section plane is a decision
Where the cut lies decides what the viewer understands. You know the options from technical drawings: a full section through the whole part, a half section where one half stays closed and the outer shape remains, and the broken-out section that opens only a window at the important spot.
For films I prefer the half section or the broken-out section. Viewers recognise the machine from outside and still see inside. I place the plane so it cuts the motion that matters: along the axis, through the piston, through the tool engagement. Try it yourself below: move the plane through the cylinder.
Section plane
Move the plane through the cylinder.
Full section: the whole length is open. Good when the process inside is the story.
- Barrel
- End caps
- Piston and rod
- Seals, the point of it all
- Centre line
03
How the cut is made in Blender
There are two ways. In the first I really cut the geometry, with a Boolean operation. That is exact and gives closed cut faces, but suits mainly cuts that stay still. In the second, the shader cuts at render time: everything behind a plane becomes invisible. That way the section plane can travel through the machine while everything inside keeps moving.
The second way leaves a hole where material should be. So the open edges get their own cap, the cut face. It is what would be hatched in a drawing. In the film I tint it slightly differently per part, so housing, piston and seal stay distinguishable.
04
Colour instead of hatching, and one colour for what matters
Hatching works on paper; in moving images it flickers. So I work with calm grey surfaces and exactly one accent colour for the part that matters. Two accent colours tell the viewer there are two important things. Usually that is not true.
On-screen text stays sparse: one label at the right moment rather than five at once. What the colour already says does not need to be written.
05
Motion in the section
Fast parts in a section are a trap. A wheel spinning at full speed looks still in a film or seems to turn backwards. So I show the key moment in slow motion and let the camera move slowly towards the section plane. My films run at 60 frames per second, which helps with fast motion too.
And the cut need not be open all the time. It is often stronger to show the machine closed first and then let the plane travel through it. Then viewers understand where they are looking in.
06
What I need from you for it
For a cut I need the internal parts, not just the shell. Many companies export a simplified outer envelope for customers; that is not enough for a section. Then there is the motion: what moves, how far, how fast, in which order?
Someone from your engineering team then reviews the stills for about half an hour. Typical questions: is the seal in the right place? Is the stroke right? May this detail be shown at all? Whatever should not be shown stays closed.
Try this: The drawing test
Take the sectional drawing your engineers use to explain the machine to new colleagues. That view is almost always the right section plane for the film.
07
Common questions
How accurate is a cutaway animation?
As accurate as your CAD data. Wherever something is simplified or schematic, the scene plan says so, and your engineers review the stills before animation.
Is a cutaway possible without CAD data?
Yes, as a schematic view based on drawings, photos and your information. For dimensionally accurate internal parts, CAD data is better.
Can a section also show forces or flows?
Yes, as a clear depiction with arrows, colours or curves. It is not a calculated simulation unless you supply the data for one.
What does a cutaway animation cost?
At FORMFOLGE most films cost between €2,200 and €2,800, as a fixed price. A cutaway of a single component tends to sit lower, a whole machine with many moving assemblies higher.
Do internal design details stay confidential?
Yes. Only what you approve in the stills is shown, and I sign a non-disclosure agreement before data is handed over.